NeutronNed
  • Home
  • Projects
  • Speakers
  • Spectrum Analyzers
  • Wearables
  • About Me
  • Amateur Radio
Picture
Picture

Steampunk Munny Speakers

These were the second set of Munny-based speakers I built.  Improvements include more stable tweater mounting and a tuned port design into the base.
The center piece is an iPod Shuffle built into the Munny to form an MPG player.  It contains two custom LED VU meters to give a little light show.

Here is a short movie showing the speakers and player in action.

These speakers were great visual pieces and the sound was okay, but needed more bass. I decided to build a matching Steampunk Subwoofer built around an 18inch Munny doll. Again, I ported the speaker through the feet and into the wooden base. 

For all four, the white vinyl doll is completely covered with adhesive-backed copper tape, with all the edges soldered to create a 'welded' look. Brass wire and tubing is used for all the interesting Steampunk designs.

For the Sub, copper shielding material is slipped over vinyl tubing to make it look like formed copper tubing that are plumbed into the figure.  A pseudo compressor is mounted on the front and a pressure tank on the back.  The Mohawk hair is formed from brass and copper tubing to look like a radiator.

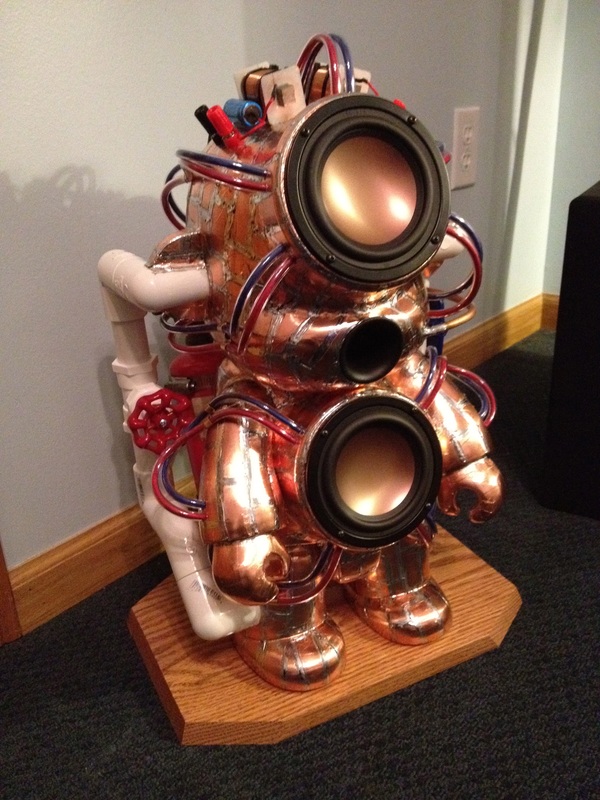
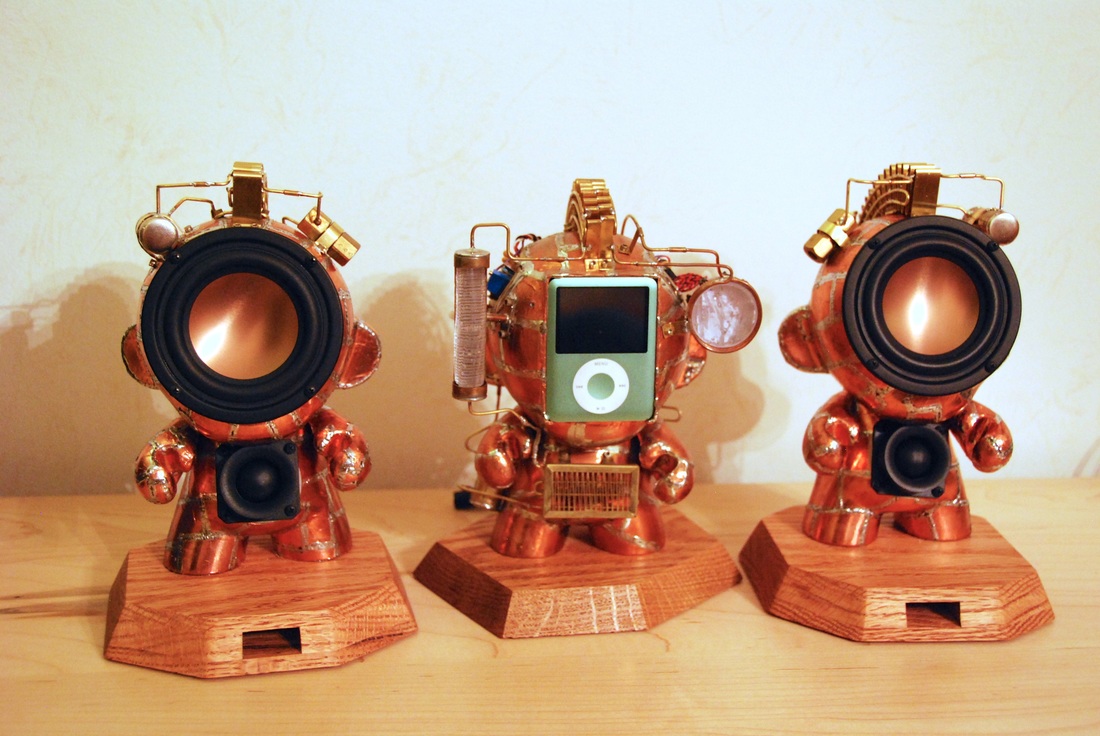
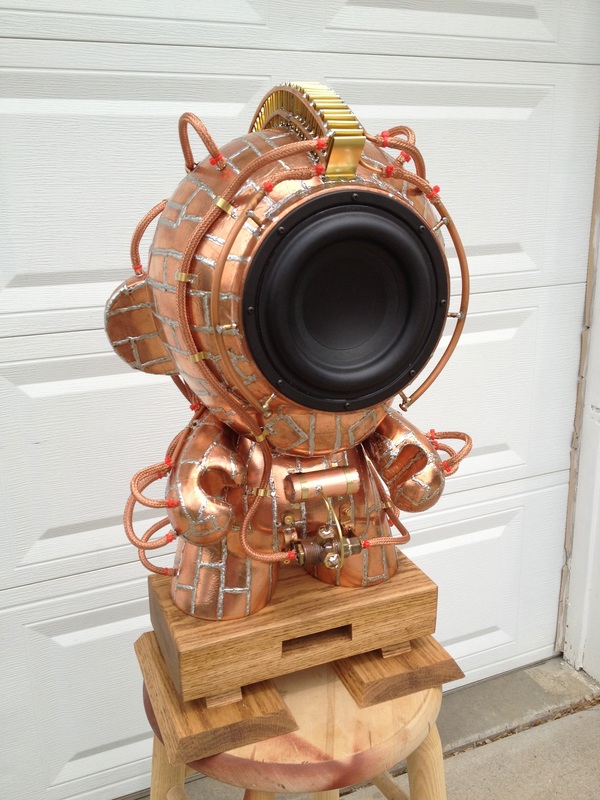
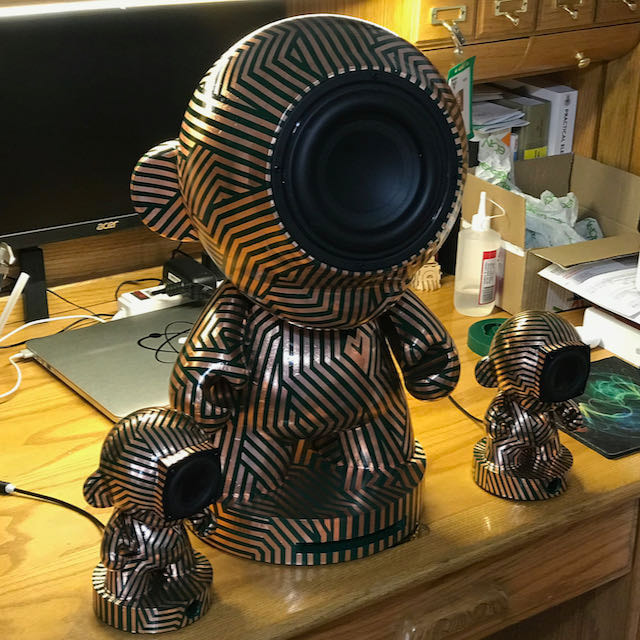
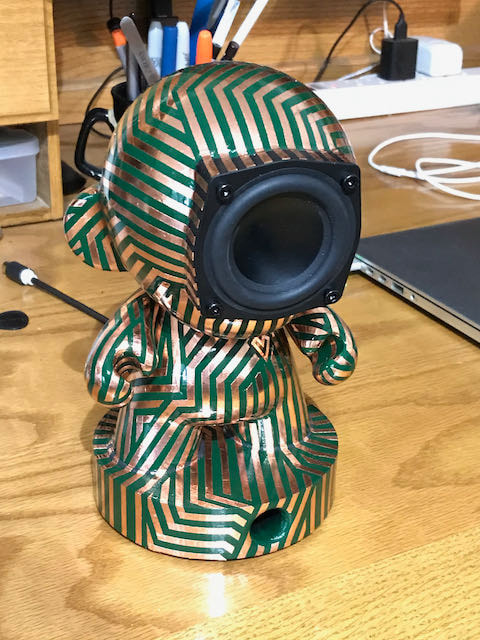
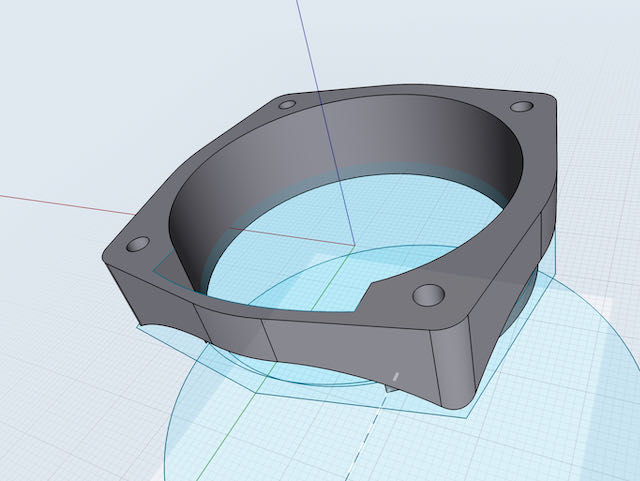
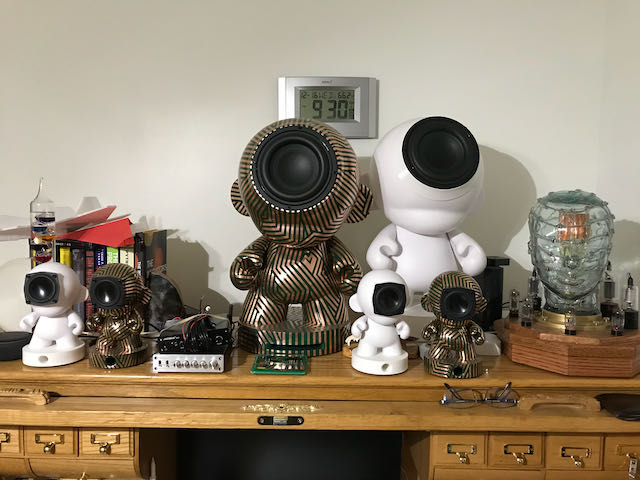
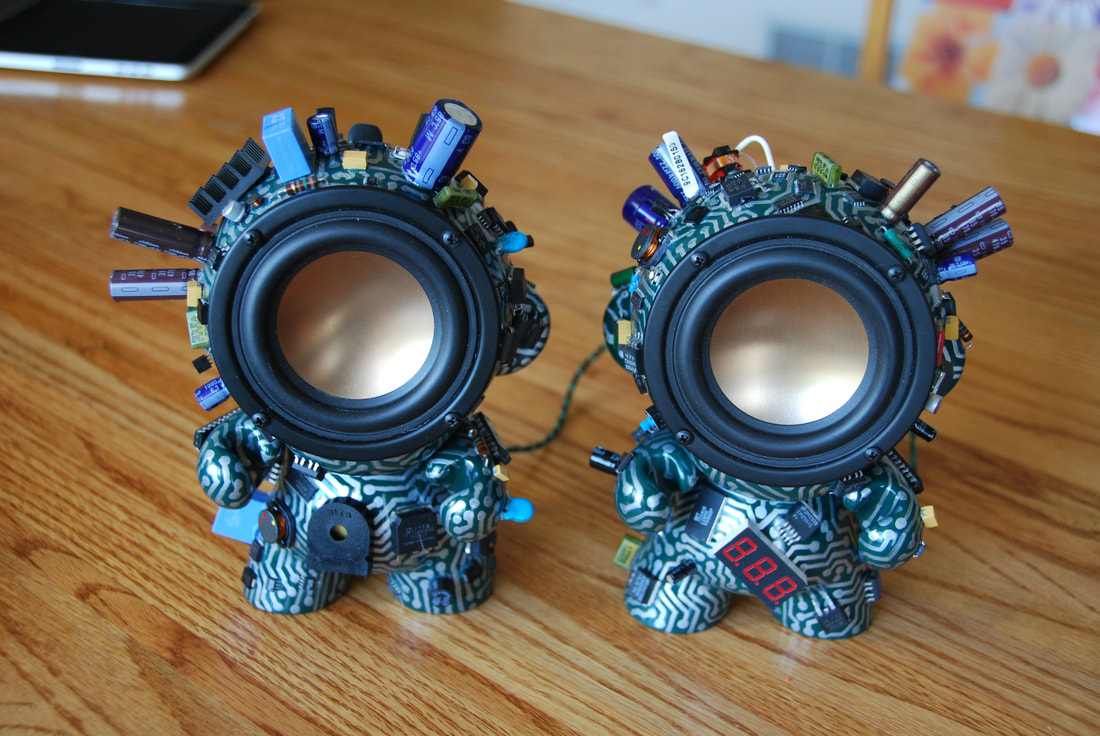
Mini/Maxi PCB Munny Speakers

As you might be able to tell, I love making speakers out of Munny dolls!  For PCB copper tape set, I designed several 3D printed parts to make the assembly easier.
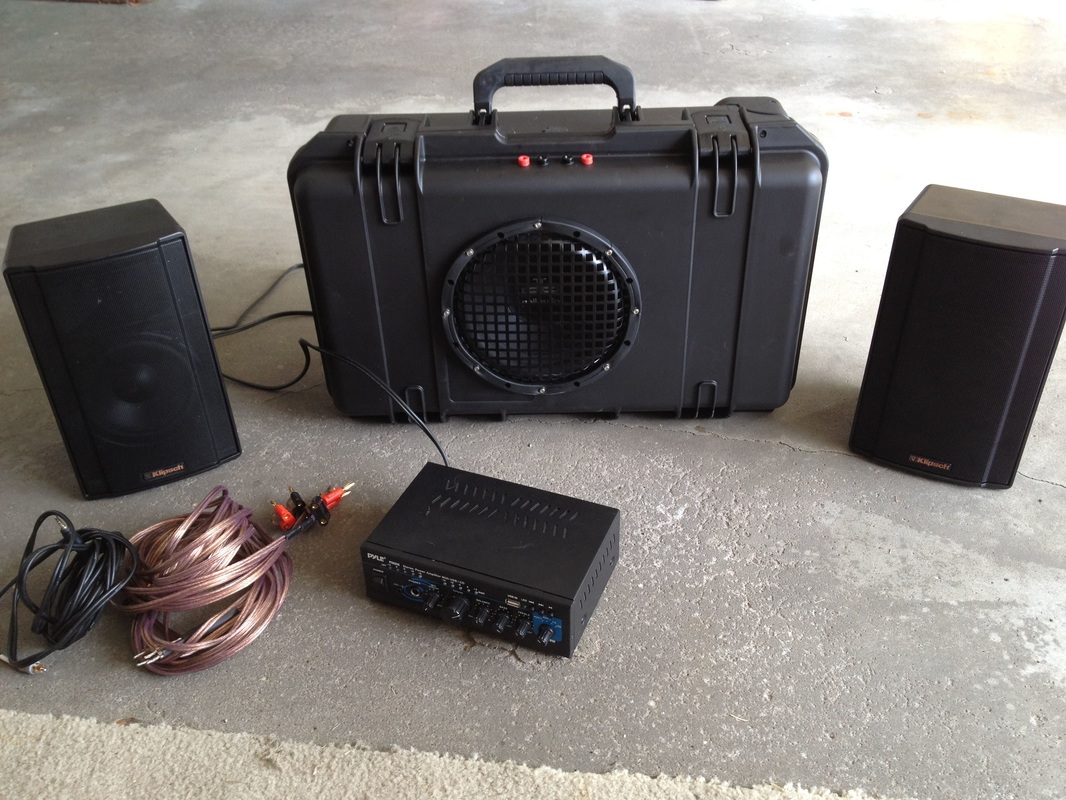
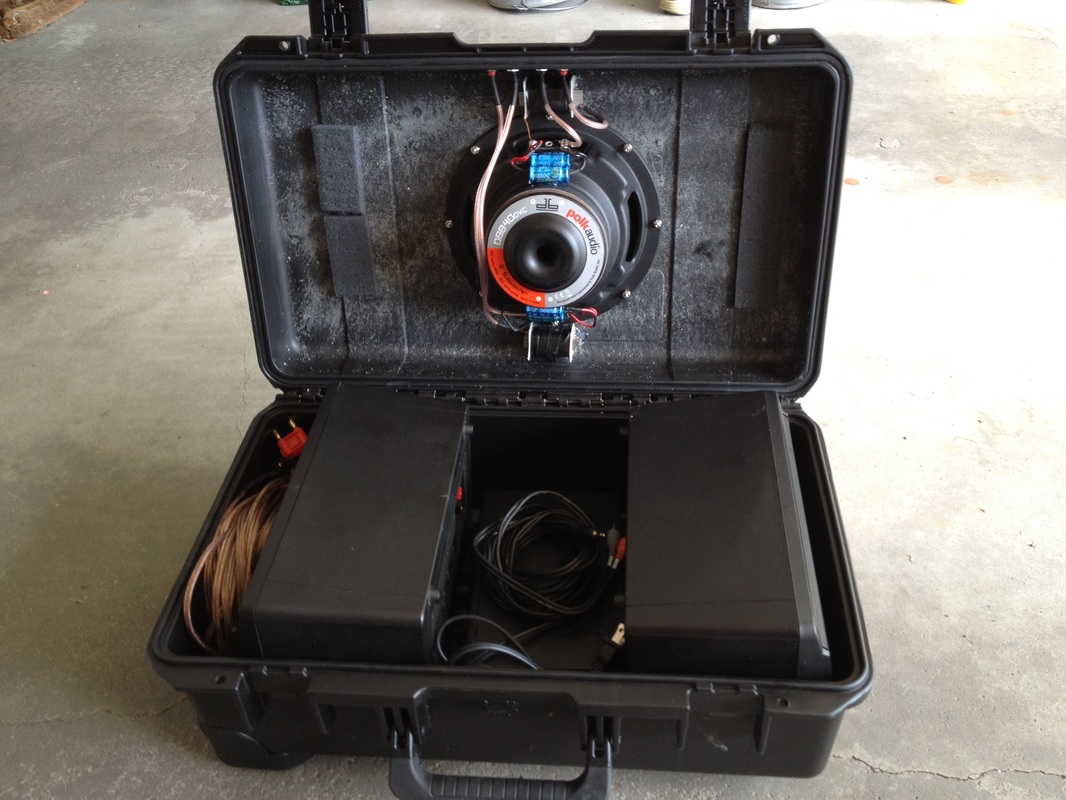
  1. For both the Mini and Maxi Munnys, I designed speaker mounting brackets that epoxy into the base doll.  Makes for a much cleaner look.
  2. For the Maxi Munny (aka sub woofer), I designed a 2-piece circular base with a built in tuned port.
  3. For the Mini Munny (aka satellite speakers), I was able to design a 1-piece circular base that printed with the tuned ports inside.

Portable Sound System

We needed a music sound system for my son's wedding reception in Colorado and, of course, I could have rented one or bought one, but what's the fun in that!  This design used two Klipsch speakers for the Left and Right sides and a Pyle amplifier.  The Subwoofer was actually the Pelican case that held everything.


I checked it as luggage and it performed pretty well!  The amp was a little under-powered and tended to run hot, but the sound quality was good.


Short sound test here.
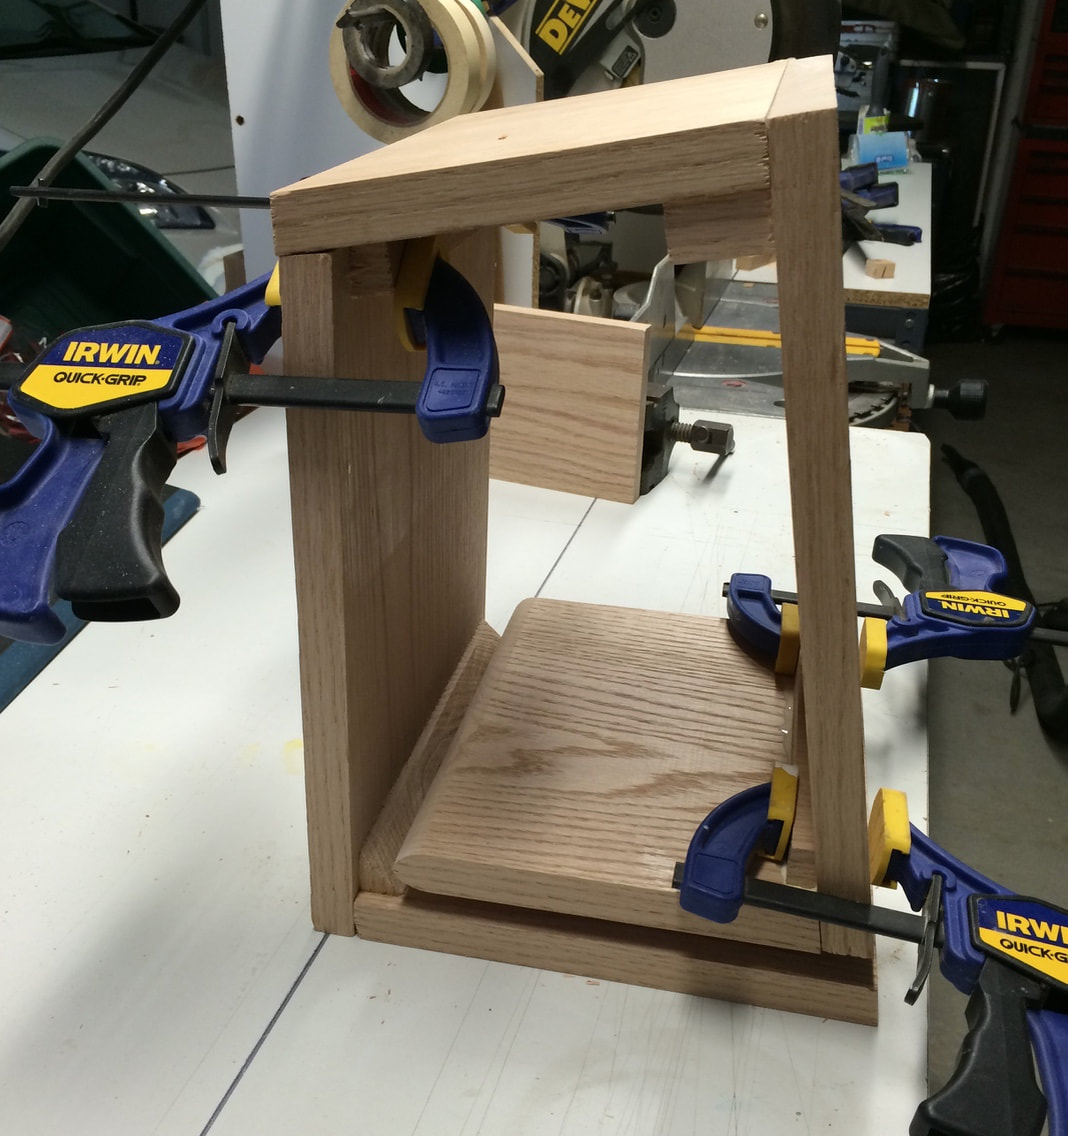
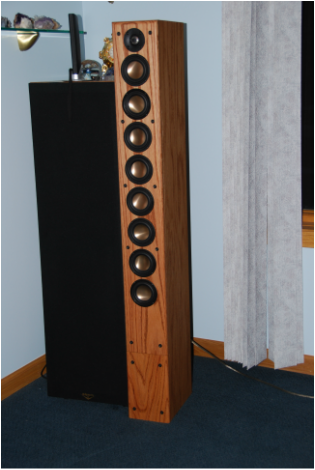
Picture
Picture

Picture

Line Array Attempt #1

My first attempt at building a home-design line array.  Roughly four feet tall, eight mid-sized drivers, a small titanium tweeter and it sounded really poorly.  Severe acoustic interference between drivers (aka comb effect) rendered it useless.

Lesson learned: line arrays are tricky!

MTM Speaker #1

So what do you do when your line array design is terrible?  Salvage the enclosure and try again with a different design.  I had designed the line array with a simple removable face boards that allow me to change out panels to allow for different speaker arrangement.  As long as they would work in the fixed volume of the original speakers, that is.

I converted the lower panel from a fixed front to one with a port, repurposed the tweeters and built up a new crossover network.  I tested the design in a cardboard box to get a rough idea on the sound.  The math said these should work and yes, these sounded much, much better!!
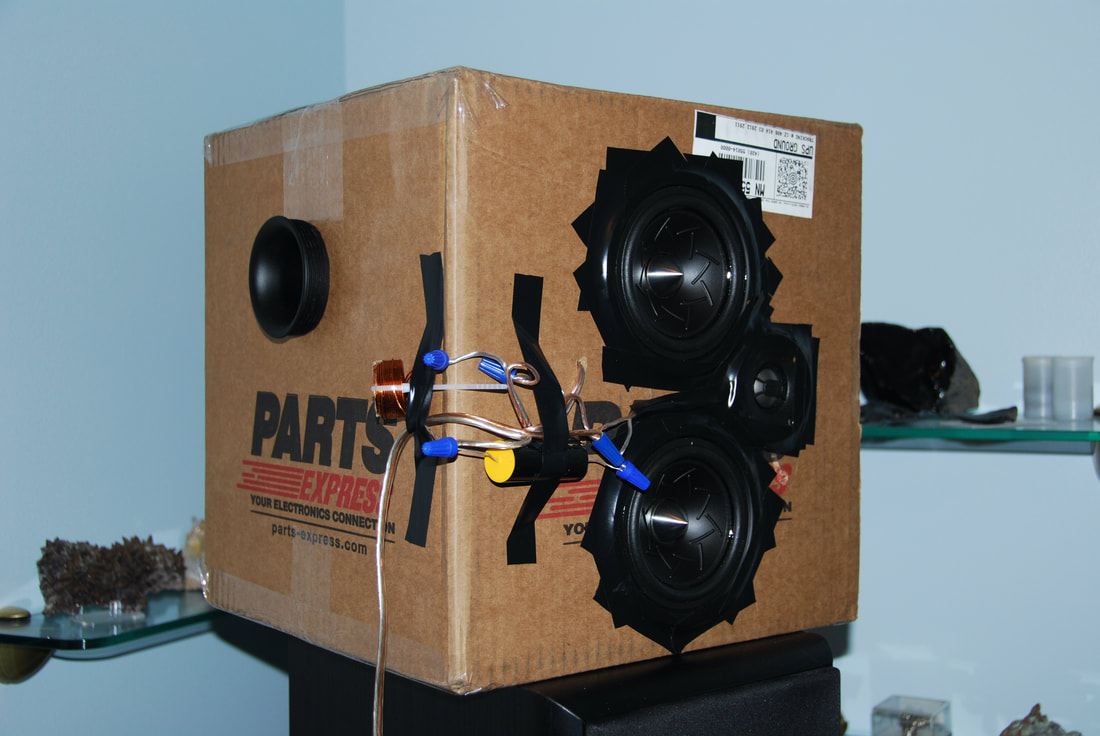
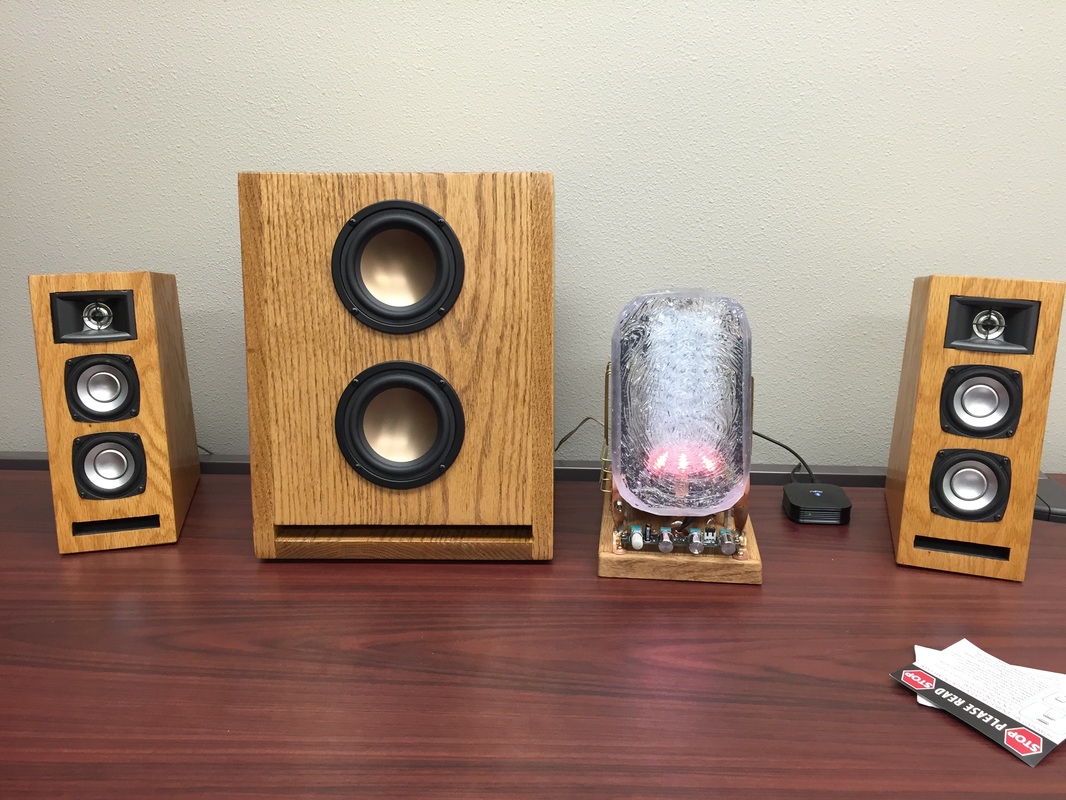
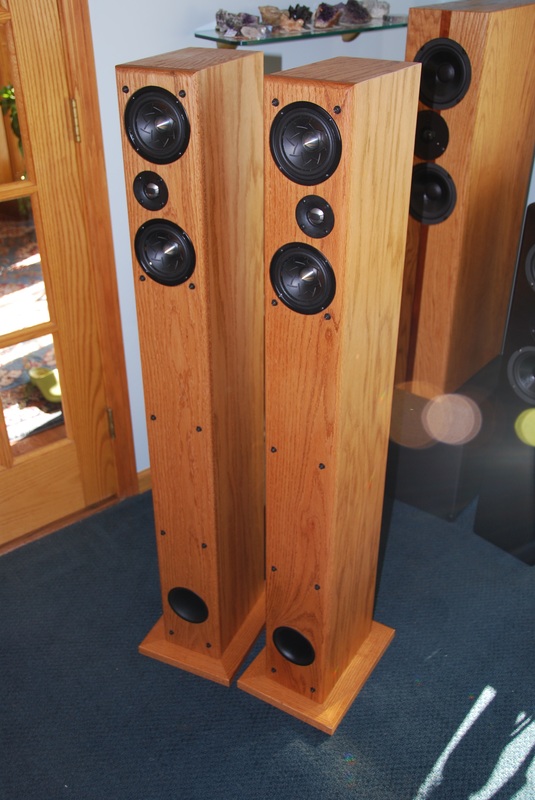
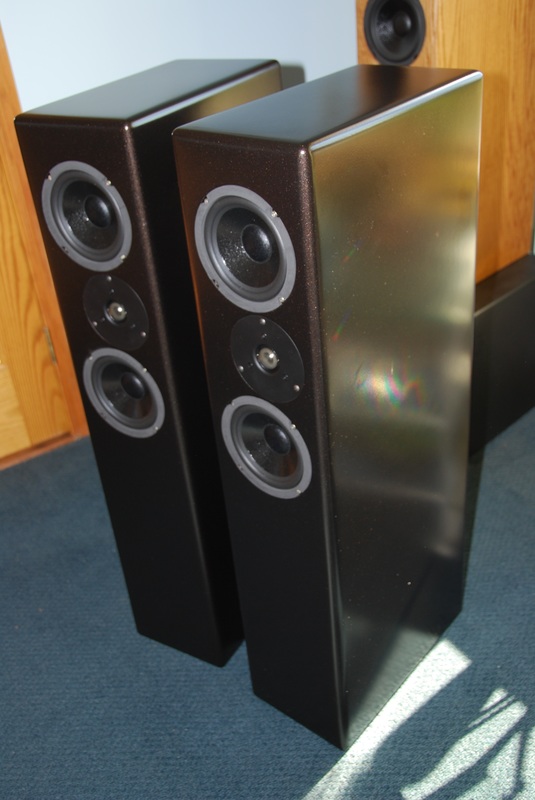
Picture
Picture

Picture

TriTrix 

Unfortunately, I got slightly hooked on building speakers.  I ended up building two and a half of these TriTrix speaker kits from Parts Express. They are large and slightly weak in the bass (to my ear) but otherwise excellent.  Link here.
Picture
Picture
Picture

Proudly powered by Weebly